
![Boat parking at The Crow’s Nest in Venice [Photo: Lauren Jackson]](/sites/default/files/styles/popular_stories_teaser/public/2023-import/The-Crow%2527s-Nest-cropped__OPT.jpg.webp?itok=F_GZSs8A)


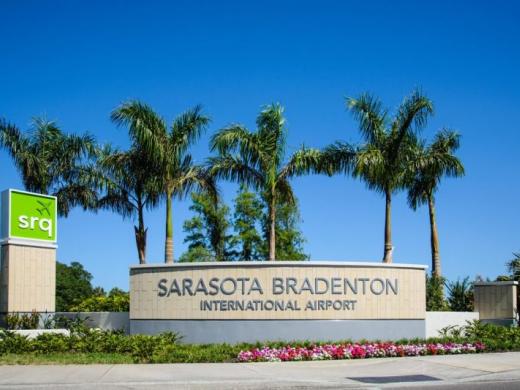
Sarasota Bradenton Intl. Airport
6000 Airport Cir, Sarasota, FL 34243-2105 (941) 359-2770 [email protected]Sarasota Bradenton Intl. Airport (SRQ) is a stress-free, full-service international airport for Sarasota and Her Islands resort areas. With more than 65+ nonstop destinations and 11 airlines, competitive rates and efficient facilities, packed with amenities, SRQ airport is truly a gatekeeper to paradise. Located on the Manatee/Sarasota County line, the airport is just four miles north of Downtown Sarasota. Smart travelers prefer SRQ for its comfort and convenience.
Services & Amenities: Short and long-term and shade parking, special needs and accessibility, car rentals, ground transportation, local dining options and shopping, luggage carts, complimentary WiFi, animal relief areas, ATM, change and cash-to-card machines, massage chairs, and a literature rack.
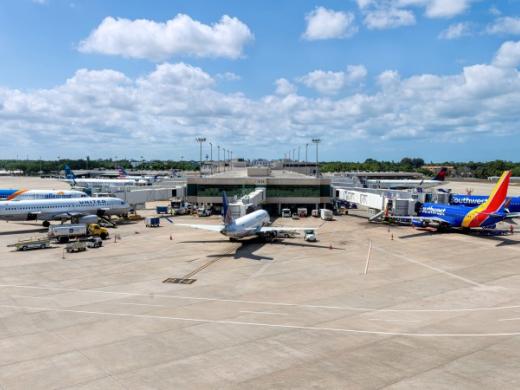
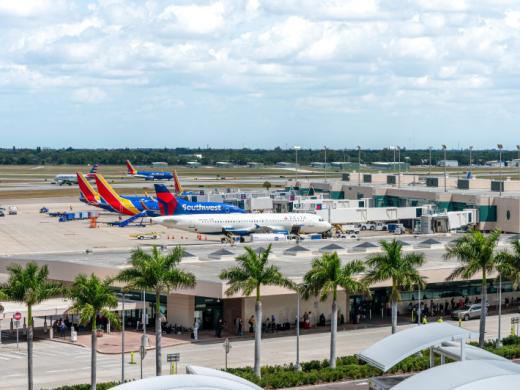
Nonstop Routes: There are currently 65+nonstop routes served. For a full list of cities, head here.
Airline Carriers: Air Canada, Allegiant Air, American Airlines, Avelo, Breeze, Delta, Frontier Airlines, JetBlue, Southwest, Sun Country Airlines, and United Airlines.
Car Rentals/Ground Transportation: Alamo, Avis, Budget, Dollar, Enterprise, Hertz, National, Payless, and Thrifty Car Rental are onsite at the airport. Buses, taxis, limos, and Ride Share app services are also accommodated for drop-off and pick-up.
Onsite Restaurants & Shops: For a listing of restaurants visit here Dining | Fly SRQ and for a list of shopping, visit here Shopping | Fly SRQ
Nearby Hotels: If you’re looking to stay close to the airport, check out hotels within walking distance or a short driving distance away.
For further SRQ Airport Travel Information, Airport Updates/Advisories, or a Terminal Map, head here.